

Homemade Taro Paste (4 ingredients only!)
Homemade taro paste is an ingredient that is versatile, goes great with desserts, and most importantly easy to make! My version of this sweet paste requires only 4 ingredients! In this post, learn how to make my easy taro paste and the keys to getting the smoothest, most velvety texture.
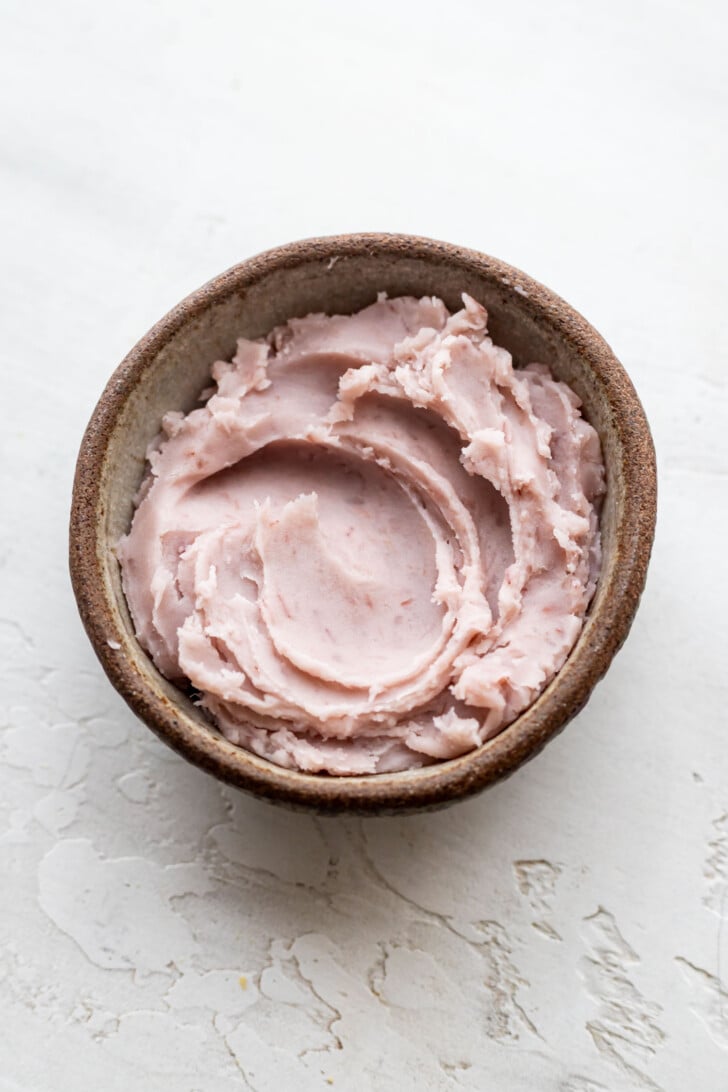
Taro paste is an ingredient I have loved since I was a kid. Every time we would go to a Chinese bakery, if I wasn’t in the mood for a red bean bun, I’d opt for something with taro paste. I love the not-so-sweet flavor and the gorgeous lavender color. Nowadays, taro paste is not something I can find that often where I live, so I knew I had to learn to make it from scratch. This taro paste recipe is deliciously not too sweet and easy to make with only 4 ingredients.
How I developed my taro paste recipe
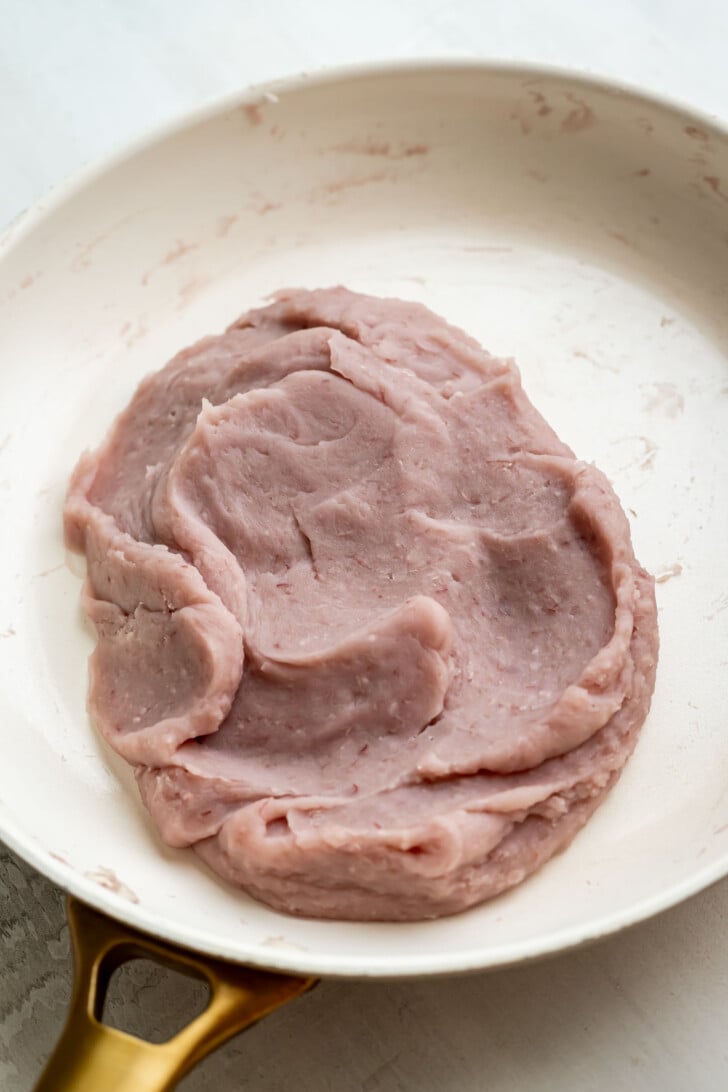
I developed this taro root paste recipe in conjunction with developing my taro mooncake recipe. I took a lot of lessons from making ube halaya and applied it here since both condiments are similar. My first batch of taro paste was very wet because I didn’t cook it enough. It was my first time, so I thought it was done when it reached a very light purple color. However, the paste ended up being very sticky, didn’t hold its shape well, and was hard to work with. I went back and remade it, cooking it longer the second time until it turned a deep purple color (see images for reference) which ended up being the winning batch.
Making my taro paste recipe from scratch
Keys to a successful homemade taro paste
Thoroughly steaming your taro paste
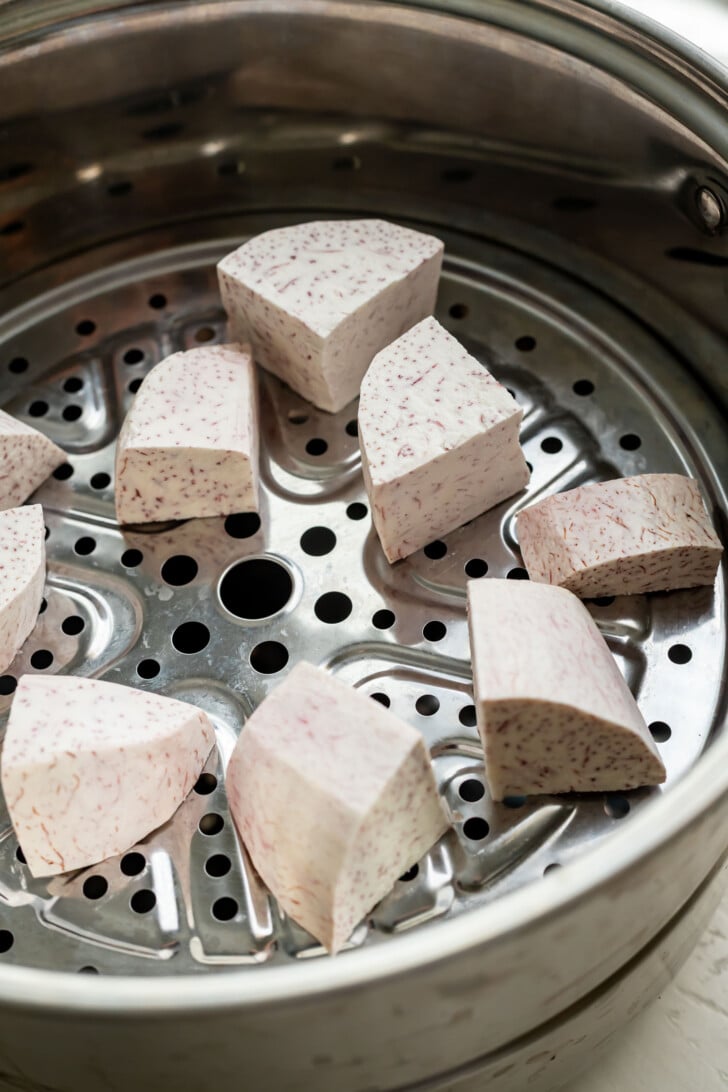
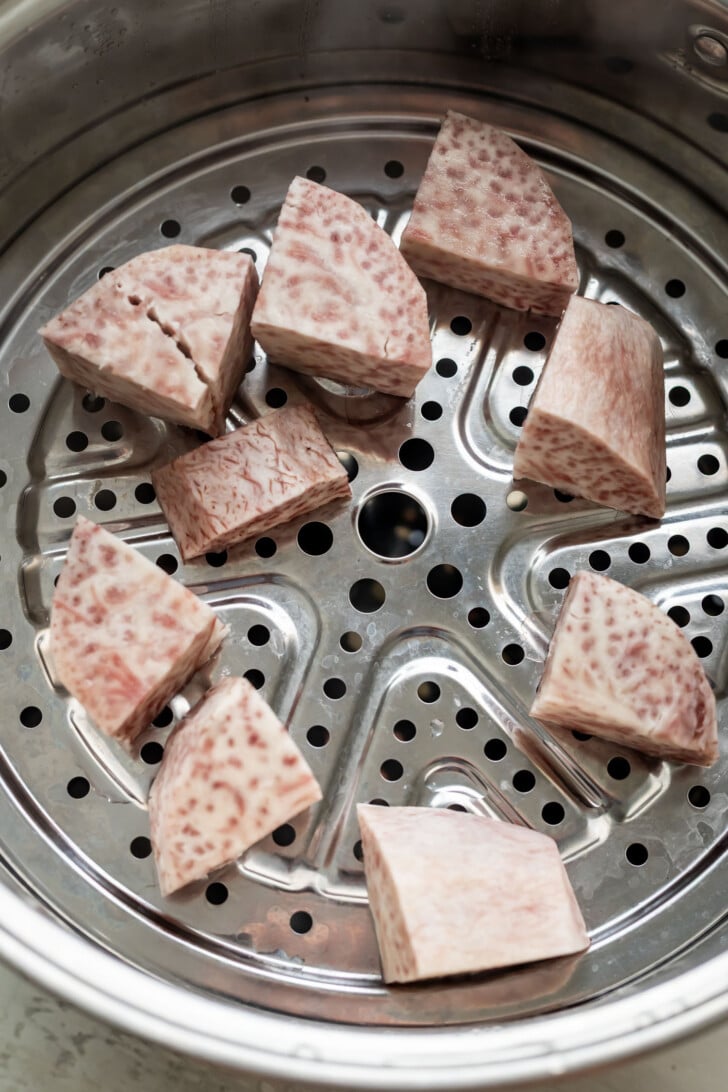
This is the key to a smooth taro paste. Fresh taro root is a hard, root vegetable, so it’s hard to turn into paste. That’s why it’s crucial you steam it until it is soft enough to work with. Otherwise you’ll have chunks of uncooked taro in your paste which is unappetizing.
Use a potato ricer
This is something I discovered while making mashed potatoes quite frankly. A potato ricer is your key to success when mashing a hard vegetable. You can use a fork, but you just can’t replicate the smoothness that comes from a potato ricer. The potato ricer will also tell you if you steamed your taro root enough. It should easily go through the ricer. If it doesn’t, you probably need more steaming time.
Cooking the taro paste long enough
This was the issue I had with my first batch. Undercooking my taro paste caused it become wet, which is okay for some applications of taro paste, but most of the time, you want something that’s drier and easier to work with. Make sure to cook the taro paste until it pulls away from the pan and turns a deep purple color.
What can you make with taro paste
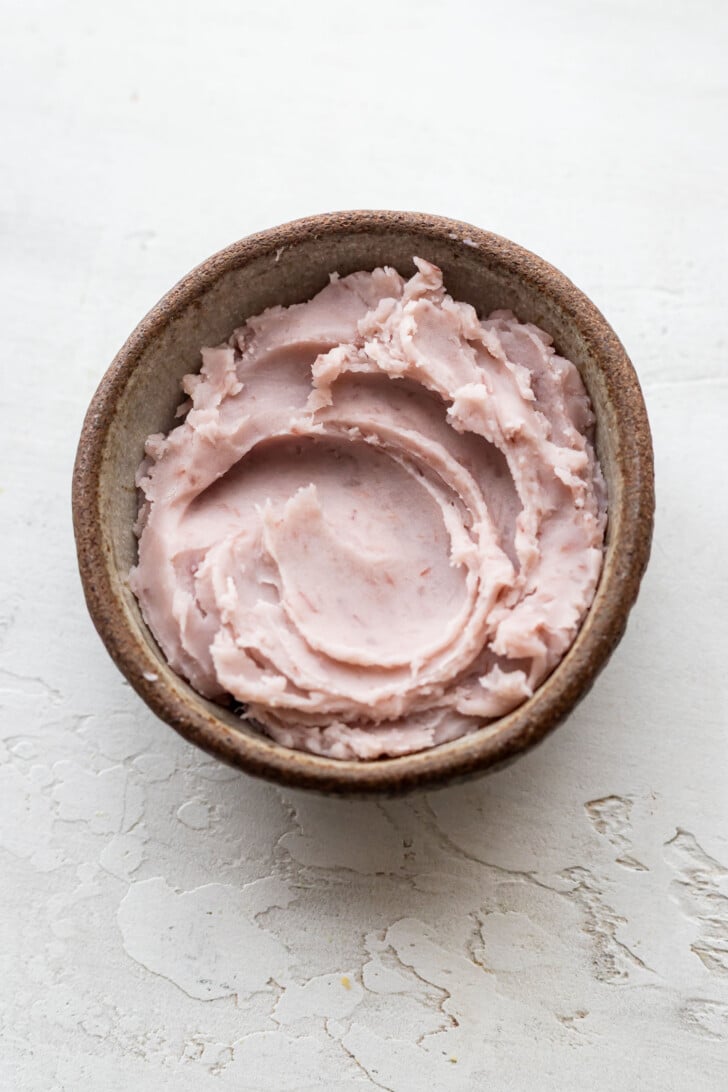
Taro paste is a versatile ingredient. It is often used as a filling in baked Asian pastries like taro buns or taro mooncakes (my favorite way to use it!). It can also be used in desserts like with shaved ice or ice cream.
Did you make this dish?
If you made this dish, I would love to see!
Follow Cooking Therapy on Instagram, snap a photo, and tag and hashtag it with @cooking__therapy and #beccascookingtherapy.
Stay connected and follow along on Facebook, Pinterest, and Instagram for all my latest recipes.
Disclaimer: If you purchase anything through a link on this site, I may receive a small commission from the purchase at no extra cost to you. I only recommend products that I would personally use. Thank you so much for the support!
Get the Recipe:
Homemade Taro Paste (4 ingredients only!)
Ingredients
- 375 g taro root, cut into 1-2 inch thick pieces
- ½ cup + 2 tbsp coconut milk, full fat
- ½ cup granulated sugar
- ⅛ tsp salt
Instructions
- Steam 375 g of taro root for 30-35 minutes until a fork easily pierces through each piece.
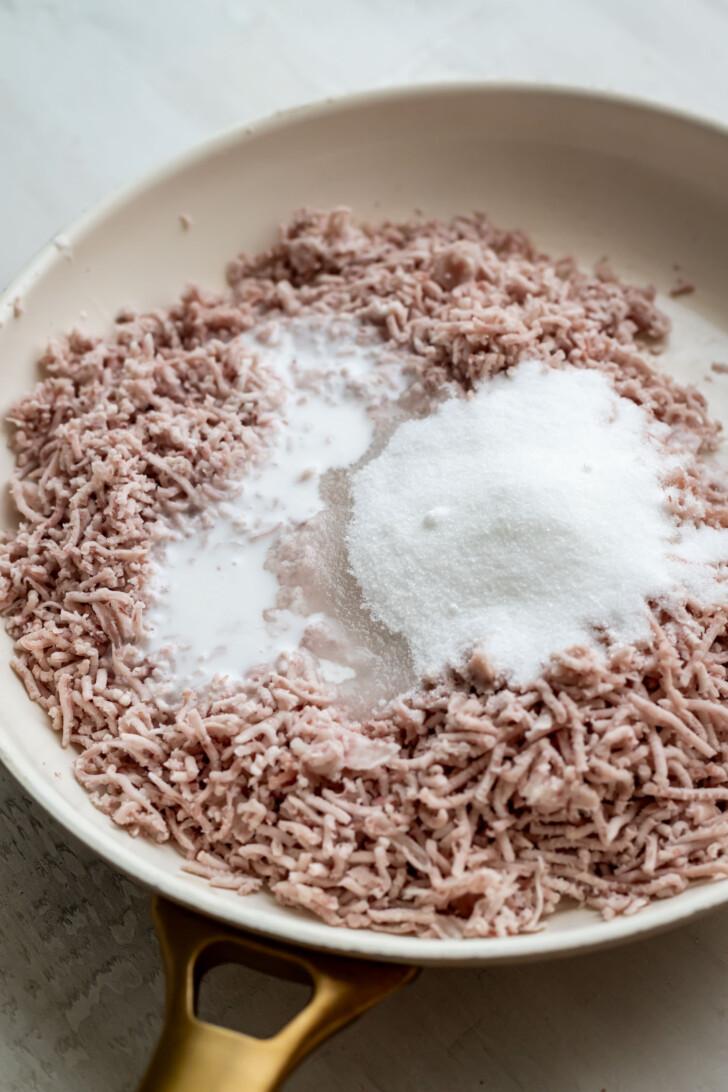
- Using a potato ricer or a fork, mash the steamed taro root and add to a fry pan. Follow with 1/2 cup + 2 tbsp of coconut milk, 1/2 cup of granulated sugar, and 1/8 tsp of salt. Turn the heat to medium and cook until the sugar melts and the taro paste starts to pull away from the pan. Make sure to stir frequently to ensure even heat distribution throughout the paste. Once done, the taro paste should be a deep purple color. If it is a light purple color, it is undercooked.
- Let the taro paste cool at room temperature for at least 30 minutes and then place in the fridge to cool completely. In all, this should take about an hour.